Introduction
Hello World! 👋 hope you are doing great and having a wonderful day. This will be my first blog and in this tutorial, we’ll walk through the process of deploying a Node.js web application on Amazon EC2 which is one of the popular cloud computing platforms offered by Amazon Web Services (AWS).
We’ll cover the steps required to set up an EC2 instance, install Node.js, transfer your application files, and start your Node.js application.
Step 1: Create an Amazon EC2 Instance
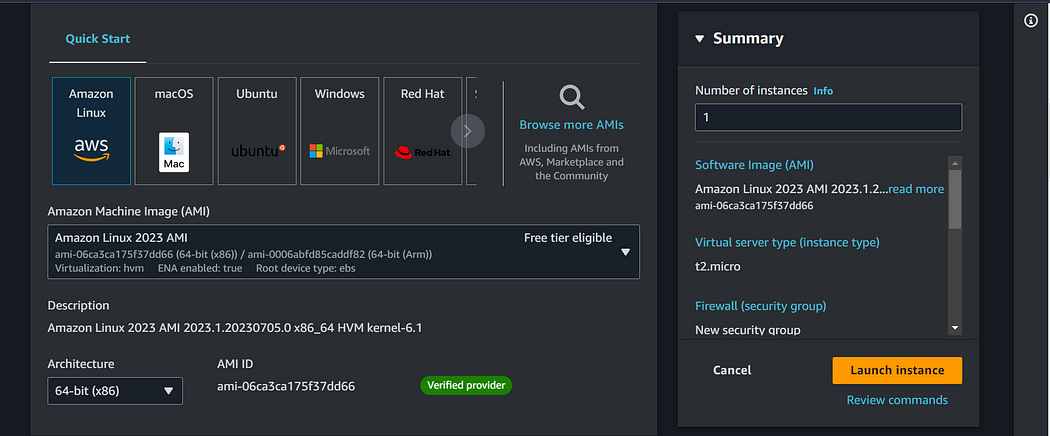
The first step is to log in to the AWS Management Console and navigate to the EC2 service. From there, we will launch a new EC2 instance. Choose an appropriate instance type, configure security settings, and generate a key pair for SSH access. Here I will be using Amazon Linux 2023 AMI with t2.micro instance type.

Step 2: Connect and update the EC2 Instance
Once the EC2 instance is up and running we will update the OS and install the required dependencies. On Windows, you can use tools like PuTTY or the built-in Windows Subsystem for Linux (WSL). On macOS and Linux, you can use the terminal.
sudo dnf update
sudo dnf upgrade
sudo dnf install nodejs
Verify the services are installed or not
nodejs -v
npm -v
Step 3: Copy your application files
Transfer your Node.js application files to the EC2 instance using tools like scp or rsync to copy files from your local machine to the EC2 instance or clone your existing code from git. Here I am cloning my test node application.
scp -i your-key-pair.pem -r your-app-folder ec2-user@your-instance-ip:/path/to/destination
Step 4: Run Your Node.js Application
Start your Node.js application using a process manager like pm2 to ensure it runs continuously. Install pm2 globally using the command npm install -g pm2, and then start your application with the command pm2 start index.js. You can use pm2 logscommand to view the application logs.
pm2 start index.js
pm2 logs
Step 5: Access Your Application
Once your application is running, you can access it using the public IP address or public DNS name of your EC2 instance. Open a web browser and enter the IP address or DNS name to access your application.
Make sure you have configured the inbound rules of your security group associated with the EC2 instance to allow inbound traffic on the required ports
Conclusion:
Congratulations! You have successfully deployed your Node.js web application on Amazon EC2. AWS EC2 provides a scalable and flexible environment for hosting your applications, and by following these steps, you can easily deploy your Node.js applications.
